Thank you Sculpey for allowing me to have a Covid-safe outdoor jewelry party. I was astonished at the gorgeous results and my friends all want to use the variety of colors in the Liquid Sculpey Metallics Multipack. The Liquid Sculpey Metallic colors are glorious. They are sparkly, glittery, and even have a natural mica shift. They are so pretty on their own that they really don't need a glaze or extra finishing. The Liquid Sculpey and the Molds can be used with a wide variety of mica powders, glitter, and interference powders. The Molds are easy to fill and produce a perfect bead every time. The only thing I needed to do is clean up my edges. The post in the mold makes it quick to form a drop and only needs a jump ring to have a pair of earrings or necklace. The beads are so lightweight that even using multiples, hanging on a necklace, they don't feel heavy. This kit is a fun, fast and easy way to make beautiful beads for jewelry.
Hopeful, Helpful Hints:
1. Watch the video, learn the basics and tailor them to your setup and colors.
2. The more often you fill and bake the molds the easier it is and the more perfect your results. I burned my first fill and realized I had to get the temperature and time just right. I added ceramic tiles to my toaster oven and an aluminum foil “tent” over the mold, checked the temperature with an instant read cooking thermometer and have not burned any since. Make sure you use an oven mitt when using the oven and when holding the hot mold. It stays hot for a long time after it comes out of the oven and I just leave my beads in it until cooled.
3. Make sure you check carefully for bubbles, especially around the post area. Dropping the molds a few times brings bubbles to the surface. They are then easy to pop with a toothpick. I often just poke the post area with the toothpick even if I can't see a bubble there.
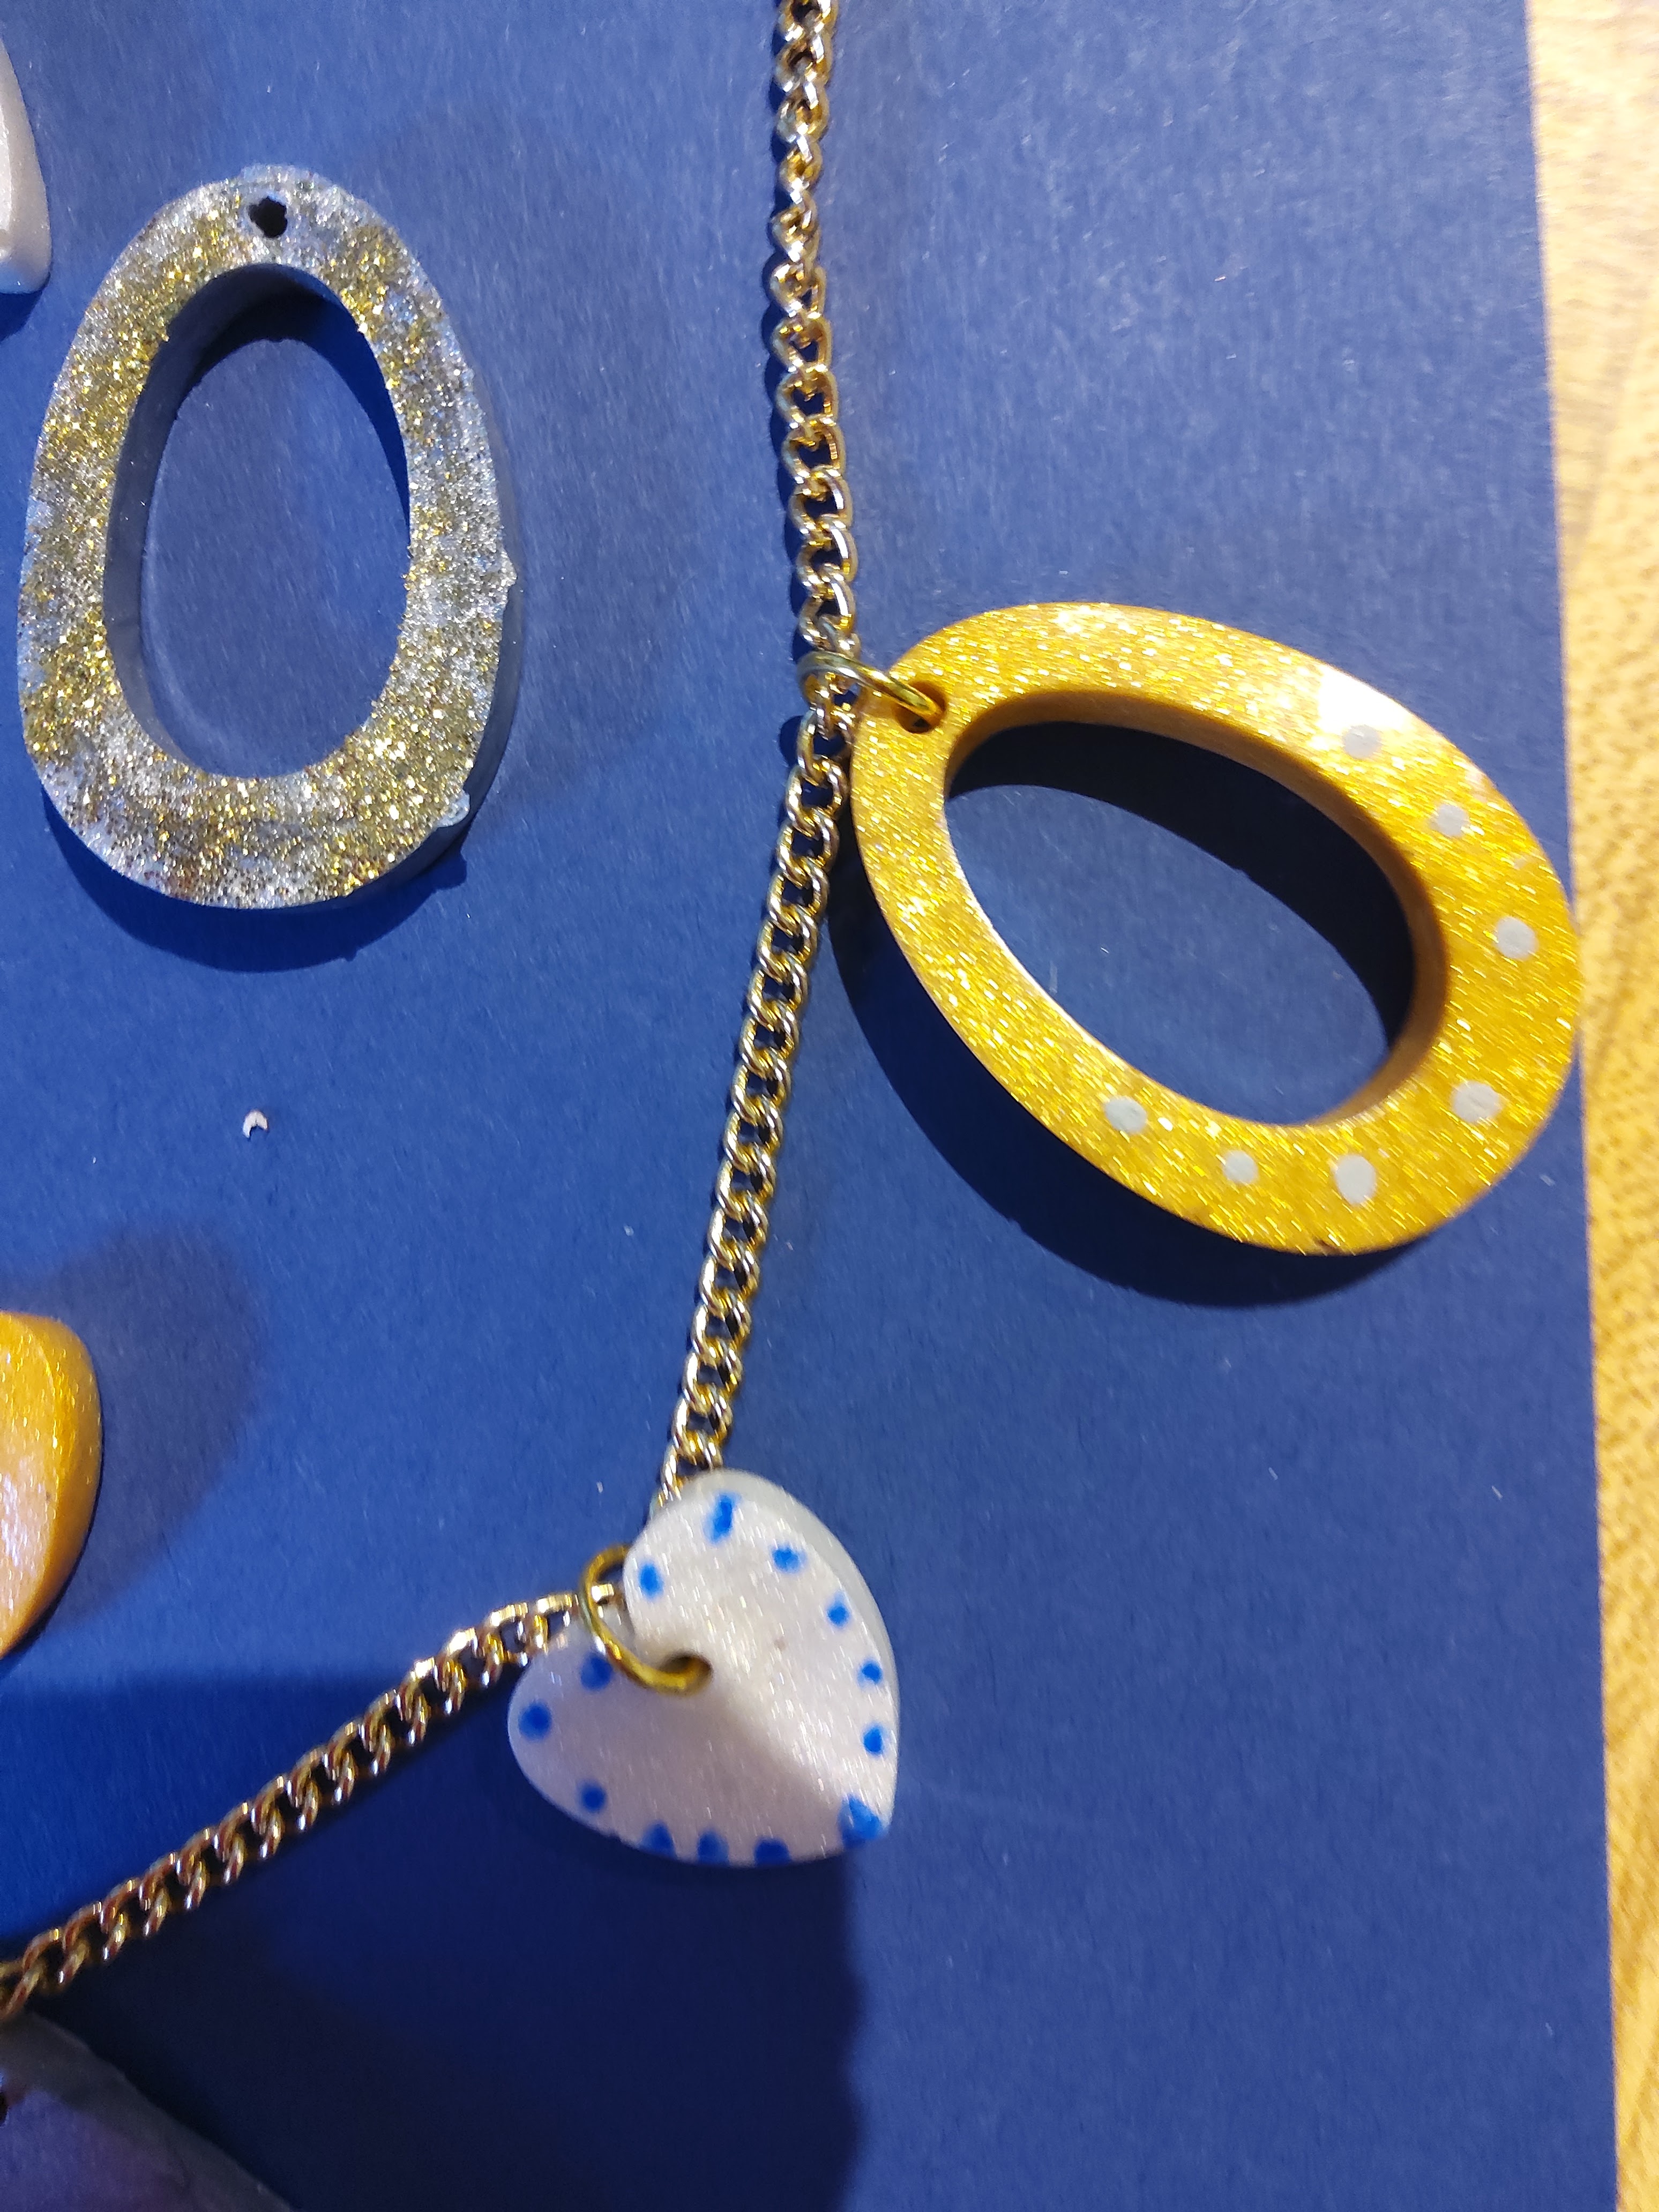
4. You can dust the molds with mica powders, interference powders, or glitter for effects. You can also mix in a bit of mica powder before you fill the molds. Make sure to wash the mold after use of any powder or effects.
5. You can mix colors, layer colors, blend colors, or add effects when you fill the mold. Use a wire or toothpick to mix, or carefully drop small dots of color, then fill with another color or two.
6. On the earring findings you can turn the loop at the bottom of the earring with pliers so the bead will face front when you put on just a large jump ring. When you add the jump ring to the bead, turn the joining inside the hole to hide the join and it will hold it better.
7. You can use acrylic paint on the beads to add color or pattern. Use a fine, small paint brush to dot, make lines or swirls.
8. The bottom line is that the more you fill the molds and bake them, the better your beads will turn out. It is a learning process, but easy and quick to start producing giftable earrings and necklaces with Liquid Sculpey and the Sculpey Molds. Just in time for the Holidays!
I received this product for free from Sculpey to use and review.